When creating a SharePoint 2013 workflow in Visual Studio 2013 you might want to assign a task to a person involved in the workflow. This can easily be done by using the built-in SingleTask activity. Here is an example of such an activity:

The SingleTask activity automatically sends an e-mail to the person that the task is assigned to. When I did this the first time, I expected that the e-mail subject would be the same as the task title and that the e-mail body would be the same as the Body of the task, but this was not the case. The e-mail actually consisted of a default subject and body:
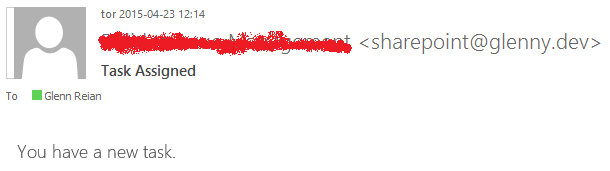
As you can see, there is no reference to the task itself. So how could we then customize the title and body of the e-mail? The answer is that you need to update the e-mail content directly in the XAML file by opening it in another tool than the XAML Designer (for example the XML Editor of Visual Studio). Look for a row in the XML containing the word “AssignmentEmailBody”
<p1:SingleTask
TaskId="{x:Null}"
AssignmentEmailBody="[default html is place here]"
AssignmentEmailSubject="Task assigned"
......>
To be able to change the text of the default body html and subject, there are default tokens that can be used. The available tokens are listed here. In this example, we would like to insert the body of the task as the body of the e-mail and the title of the task as the subject of the e-mail, so we simply replace the default values by using %Task: Body% and %Task: Title% as follows:
<p1:SingleTask
TaskId="{x:Null}"
AssignmentEmailBody="%Task: Body%"
AssignmentEmailSubject="%Task: Title%"
......>
Using this technique, you can customize the content of the e-mail by building a dynamic body in the SingleTask settings and adding this body to the AssignmentEmailBody, or you can work directly with the content of the default AssignmentEmailBody and for example add a link to the task with the token %TaskSpecial: TaskUrl%
