Preparations:
- The Workflow Service and Service Bus can be run as the farm account, but it is recommended to use specific accounts for these services. I created the following to accounts in my Active Directory: wfService (for the workflow service) and sbService (for the service bus)
- The installation must be done with a user that has local administration rights and the sysadmin role on the database.
Installation and configuration of WF Manager
- Install Workflow Manager 1.0 from the following link: http://go.microsoft.com/fwlink/?LinkID=252092.
- Run the downloaded executable and click “Install”
- Read the license terms and click “I Accept” if you agree to the terms
- In the Configure step, click “Continue” to launch the Configuration Wizard
- In the Wizard, choose “Configure Workflow Manager with Default Settings”
- In the “New Farm Configuration” fill in the following information
- The name of the SQL Server Instance (click “Test connection” to verify the connectivity)
- Enter the user account to be used for the workflow service (I chose “wfService” as described above)
- Select “Allow workflow management over HTTP on this computer” to simplify the setup in a development environment (not recommended in a production environment)
- Enter a “Certificate Generation Key” that you will remember

- In the “Summary” screen click the “Copy” link and save the summary to a text file for future reference. Note that the workflow manager management port (https) and HTTP port are set to 12290 and 12291 respectively. There is also a “Get PowerShell Commands” that you can copy for future automated configuration of the WF manager.
- Click the “Apply” button.
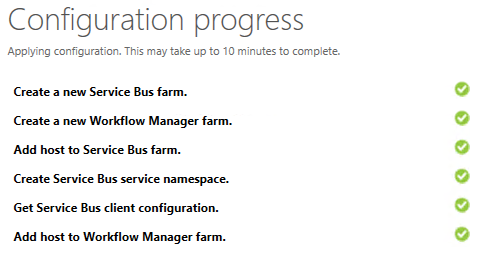
- After a while, the configuration shall be confirmed
- The following databases should have been created: WFInstanceManagementDB, WFManagementDB and WFResourceManagementDB
- If you have a look in IIS, you will see a new web site called “Workflow Management Site”
Finally, it is time to configure SharePoint to work with the new Workflow Manager:
- Create a site collection that is used to register the workflow service
- Start the SharePoint 2013 Managment Shell (run as administrator)
- Run the following command (use fully qualified domain names, not “localhost”)
- Register-SPWorkflowService -SPSite “
http://sp-dev/sites/wfservice” -WorkflowHostUri “http://sp-dev:12291” -AllowOAuthHttp
- Register-SPWorkflowService -SPSite “
You should now be able to start working with workflows in SharePoint designer and Visual Studio.
